
Custom Mechanical Keyboard Building Tutorial 🛠️

Hey there, folks! I'm thrilled to share my passion for custom keyboard building with you. As a long-time owner of a high-end keyboard store, I've witnessed the joy and satisfaction that comes with crafting your very own mechanical masterpiece. In this article, we're going to take a journey together into the world of custom mechanical keyboards, perfect for newcomers who are eager to type on a keyboard they've created themselves.
Understanding the Basics
What Is a Custom Mechanical Keyboard?
So, what exactly is a custom mechanical keyboard? Think of it as a DIY project where you get to choose and assemble every part of your keyboard. Imagine the feeling of typing on a keyboard tailored to your preferences, both in terms of performance and aesthetics.
Key Components Explained

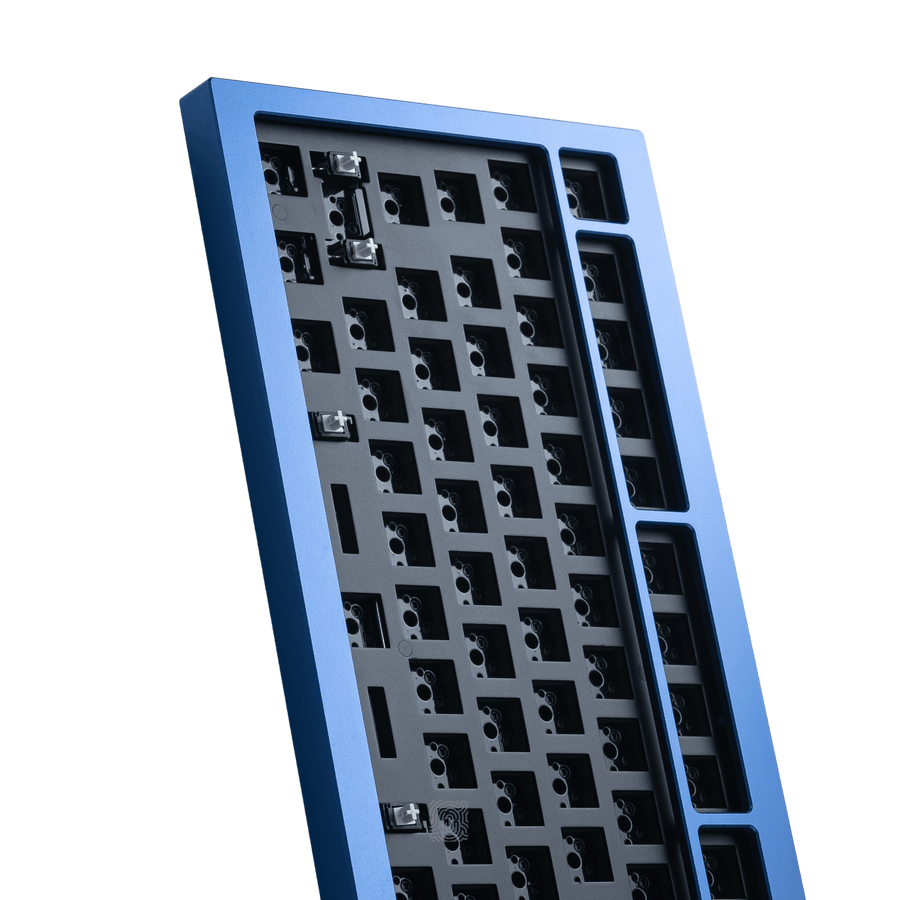
At the heart of your custom keyboard are key components like key switches, keycaps, PCB (Printed Circuit Board), case, stabilizers, and plate. These components come together to create the unique typing experience you desire.
Selecting Key Switches

The Feel of Typing
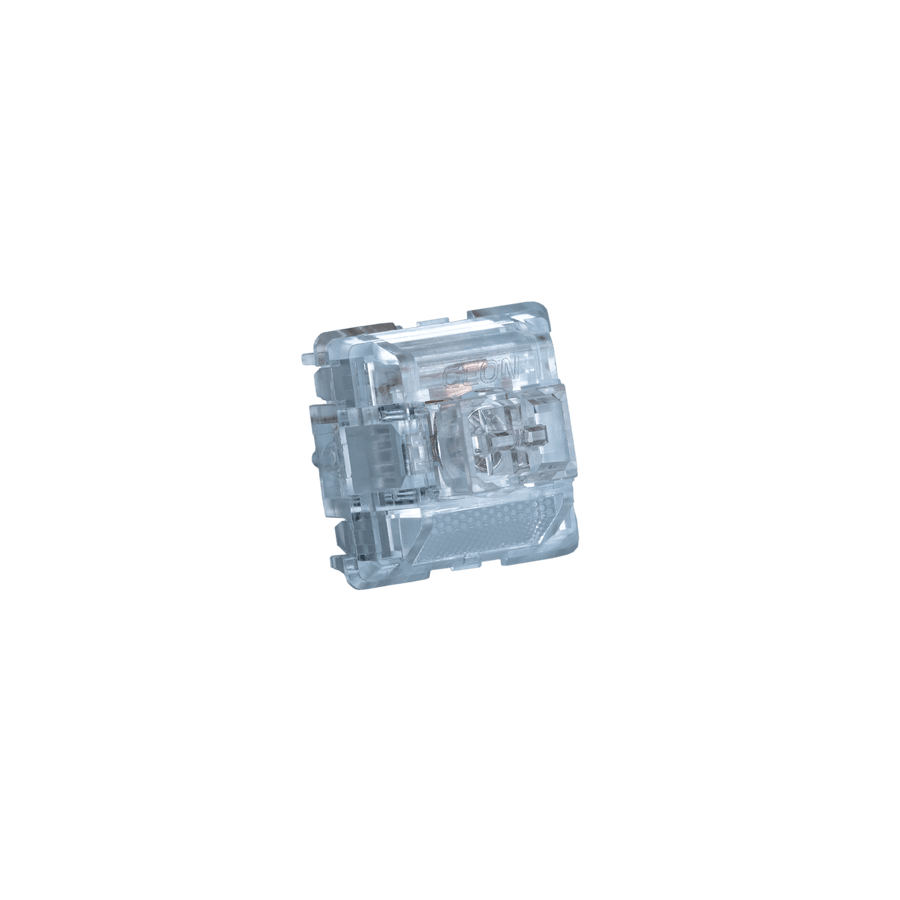
Let's talk switches. They're the soul of your keyboard, determining how it feels to type. Think of them as the engine of your car, defining your typing experience. When you first start, you will be amazed by the variety of key switches. Cherry MX, Gateron, Kailh, Sarokeys, Durock, and it just keeps on and on - the choices seemed endless.
Finding the Perfect Match
Your switch choice should align with your typing style. If you prefer a tactile and audible response, go for Cherry MX Blue or equivalent switches. If you want a quieter typing experience, consider Cherry MX Brown or something similar. Experiment, try a few switches, and you'll find the one that makes your fingers dance.
Choosing Keycaps

It's All About the Look
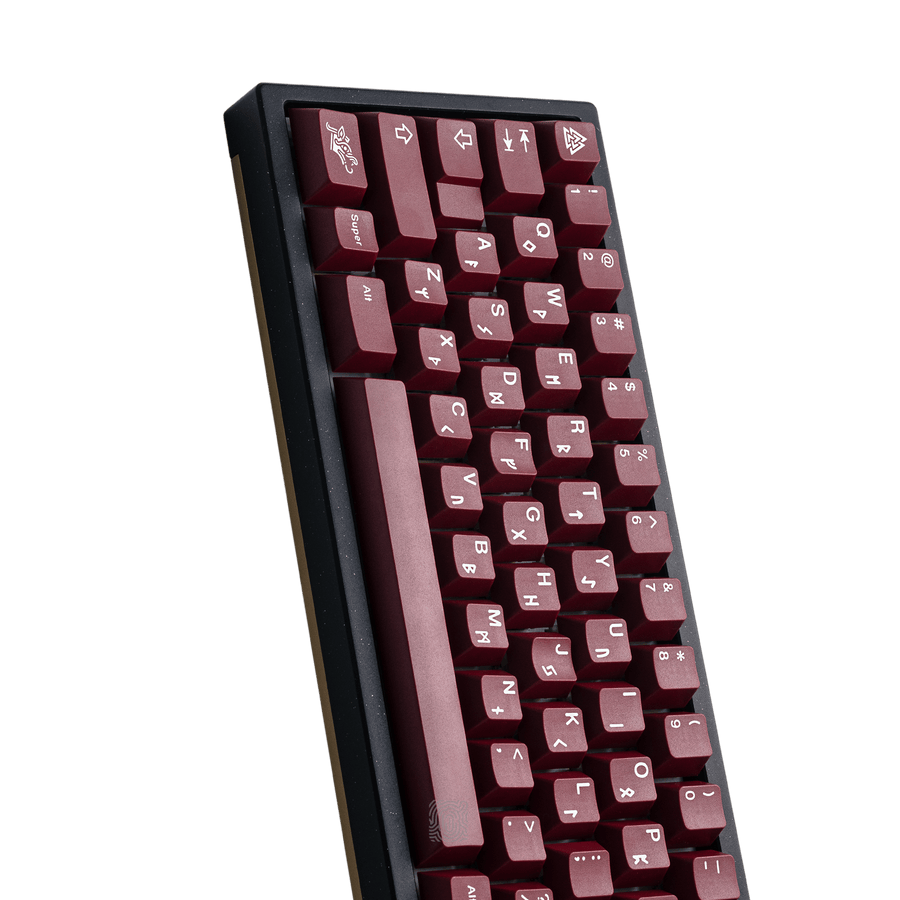
Keycaps, as the name suggests, are the caps covering the switches. They play a crucial role in both aesthetics and tactile experience. Back when I started, keycap options were pretty limited, but today, the possibilities are endless.
Material Matters
Keycaps can be made of various materials, but ABS and PBT are the most common. ABS keycaps are smooth and shiny, while PBT keycaps are more durable and have a textured feel. The choice is yours, but I've always been partial to PBT for that premium, long-lasting feel.
Assembling the Keyboard

Putting It All Together
Now comes the fun part - assembling your custom keyboard. When I built my first keyboard, I couldn't help but feel a sense of accomplishment. There are two routes you can take: soldering and hot-swappable PCBs. Soldering is permanent and offers robust stability, while hot-swappable PCBs are user-friendly, allowing you to change switches without soldering.
Mounting the Components
Mounting the switches, stabilizers, and keycaps is where your keyboard takes shape. It's like building a puzzle, where each piece plays a role in the final picture. Take your time and enjoy the process.
Customizing the Aesthetics
Creating Your Masterpiece
The aesthetics of your keyboard are limited only by your imagination. Pick a case that matches your style, whether it's aluminum, wood, or acrylic. When I built my first custom keyboard, I chose a sleek aluminum case that exuded sophistication.
Unleash Your Creativity
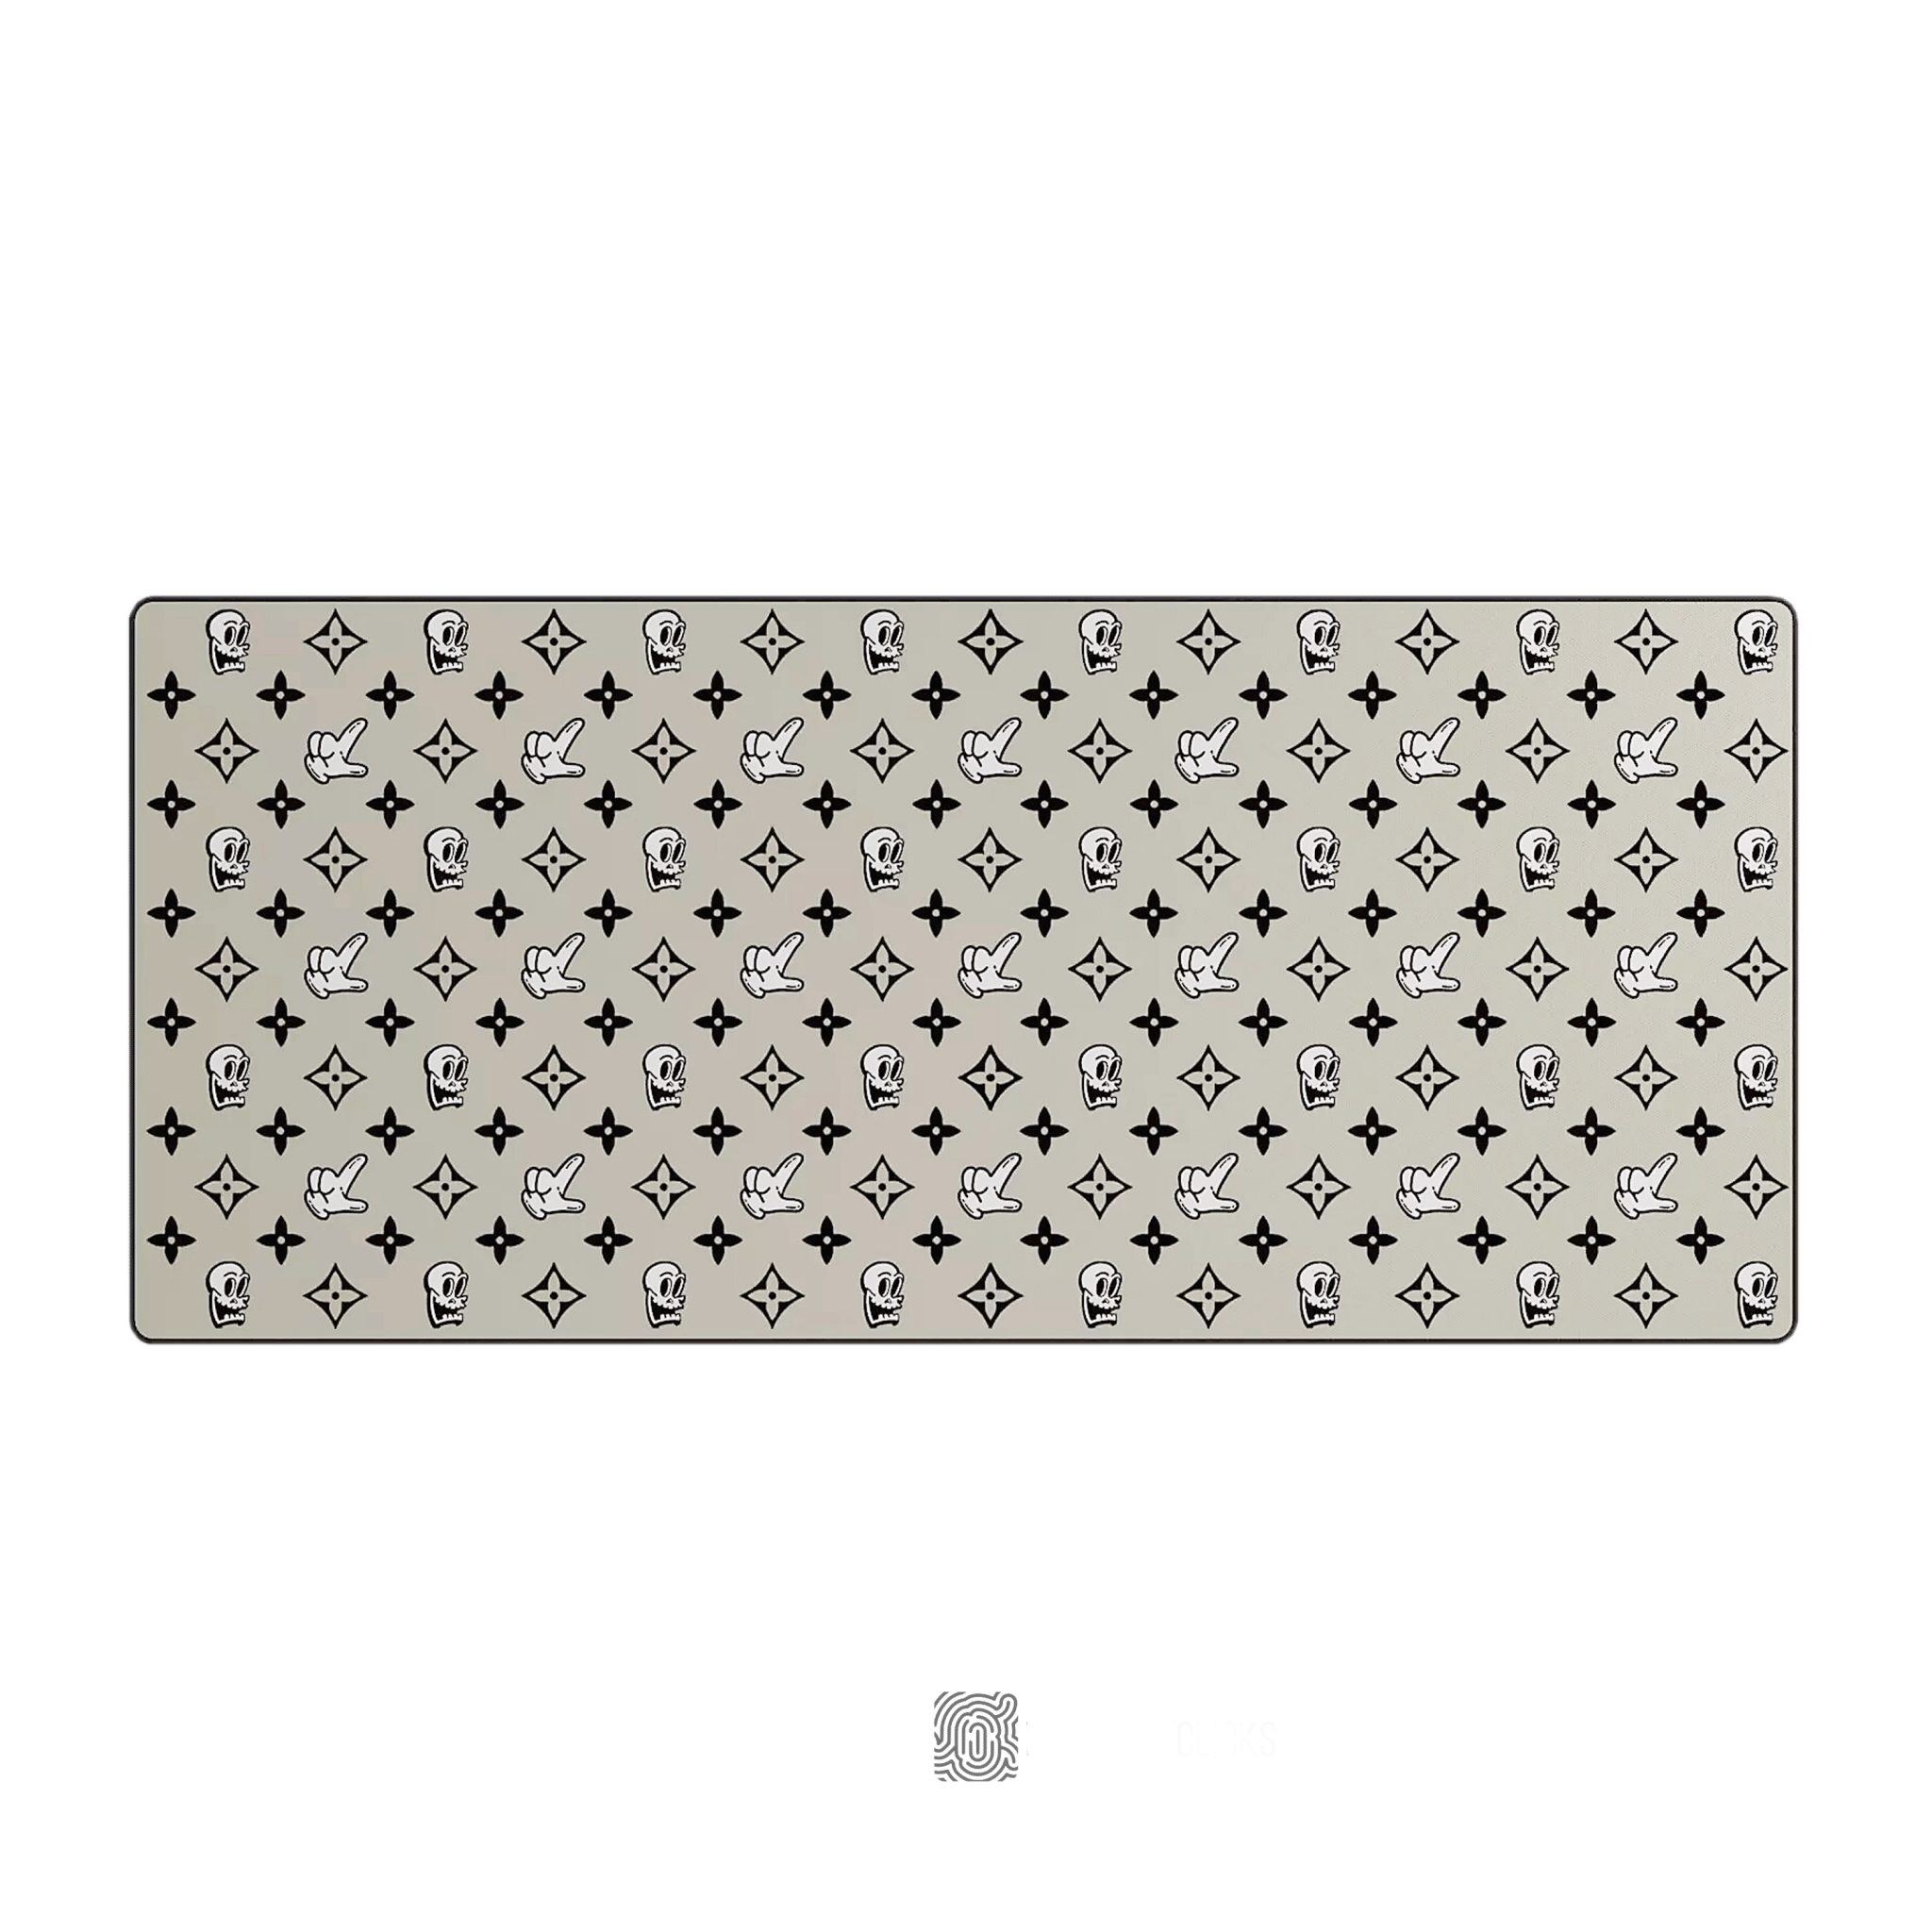
Don't forget to add your personal touch. Custom keycaps, artisan keycaps, and even custom cables can make your keyboard stand out. Let your creativity flow. When I added a set of custom artisan keycaps to my keyboard, it felt like I'd turned my keyboard into a work of art.
Programming and Firmware
Your Keyboard, Your Rules
Programming your custom keyboard is where the magic happens. You can assign unique keymaps, macros, and even RGB lighting effects. Popular firmware options like QMK and VIA give you the tools to tailor your keyboard to your specific needs.
My Experience
When I started programming my keyboard, I never looked back. I customized the layout to match my work and gaming habits, which not only boosted my productivity but also made gaming more enjoyable.
Troubleshooting and Maintenance
Common Hiccups
During and after assembly, you might encounter a few hiccups. Loose stabilizers or keycap compatibility issues are common. Don't fret; these are learning opportunities. When I faced my first stabilizer issue, I realized the importance of proper assembly and lubing, a lesson I carry with me to this day.
Maintenance Matters
Your keyboard, like any tool, needs a bit of care. Regular cleaning and maintenance keep it performing at its best. When I cleaned my keyboard for the first time, I was surprised at how satisfying it was to maintain my trusty typing companion.
Resources and Where to Buy
The Keyboard Community
I'm sure you're eager to get started, and the great news is that there's a passionate community ready to assist you. Online stores, forums, YouTube channels, and blogs provide a wealth of resources. My store is here to help as well, offering top-quality components and personalized service.
Don't Miss Out
In this vibrant world of custom keyboards, there's a wealth of information and support just a few clicks away. I encourage you to explore, ask questions, and dive into the community. You'll be surprised by the welcoming and knowledgeable enthusiasts ready to assist you.
Conclusion
In the world of custom keyboard building, the possibilities are endless, and the satisfaction is immeasurable. I hope this guide has sparked your interest and that you're eager to start your own custom keyboard journey. The feeling of typing on a keyboard you've created yourself is unparalleled, and I'm excited to welcome you to the mechanical keyboard community.If you have any questions or need further assistance, feel free to reach out to me or the wider community. We're here to support you as you embark on this exciting adventure of crafting your dream typing experience. Happy building!