How to lubricate mechanical keyboard switches
Lubricating your mechanical keyboard switches is one of the easiest ways to level up your typing and gaming experience. By applying lube, you reduce friction, smooth out keystrokes, and potentially eliminate scratchy or metallic sounds. In this guide, we’ll explain why lubing helps, what materials you’ll need, and how to do it properly—especially if you’re new to mechanical keyboards.
Why Lubricate Your Switches?
Mechanical switches contain small metal and plastic components that move against each other. Over time, friction can cause a scratchy feel or produce unwanted noise. Adding the right lubricant:
- Improves smoothness: Each keystroke feels more consistent and satisfying.
- Reduces noise: Minimizes “ping,” “spring crunch,” or scratchy sounds during actuation.
- Extends switch life: Lowers mechanical wear so you can enjoy your keyboard longer.
What You’ll Need
Before you begin, gather the following materials. If you’re missing something, feel free to explore our Accessories Collection for keyboard-specific tools.
- Switch Lubricant: Typically Krytox, Tribosys, or another keyboard-safe lube.
- Small Brush: A fine-tipped brush (size 00 or 0) for precise application.
- Switch Opener: Makes disassembling switches quicker and safer.
- Keycap Puller and Switch Puller: Essential if you’re removing hot-swappable switches. Check out our Keycap & Switch Pullers.
- Tweezers: Helps grip small components like springs.
- Work Mat or Tray: Keeps tiny parts organized and prevents losing springs or stems.
Don’t forget that if you want to upgrade your entire board, our Mechanical Keyboards section might inspire you with some new builds or advanced models.
Step-by-Step Lubing Process
1. Remove Keycaps and Switches
If your board is hot-swappable, use a switch puller to gently remove the switches after taking off the keycaps with a keycap puller. If it’s soldered, you’ll need to desolder each switch from the PCB, which is more advanced but doable with proper tools. See our Desoldering Tips post if you plan to tackle that process.
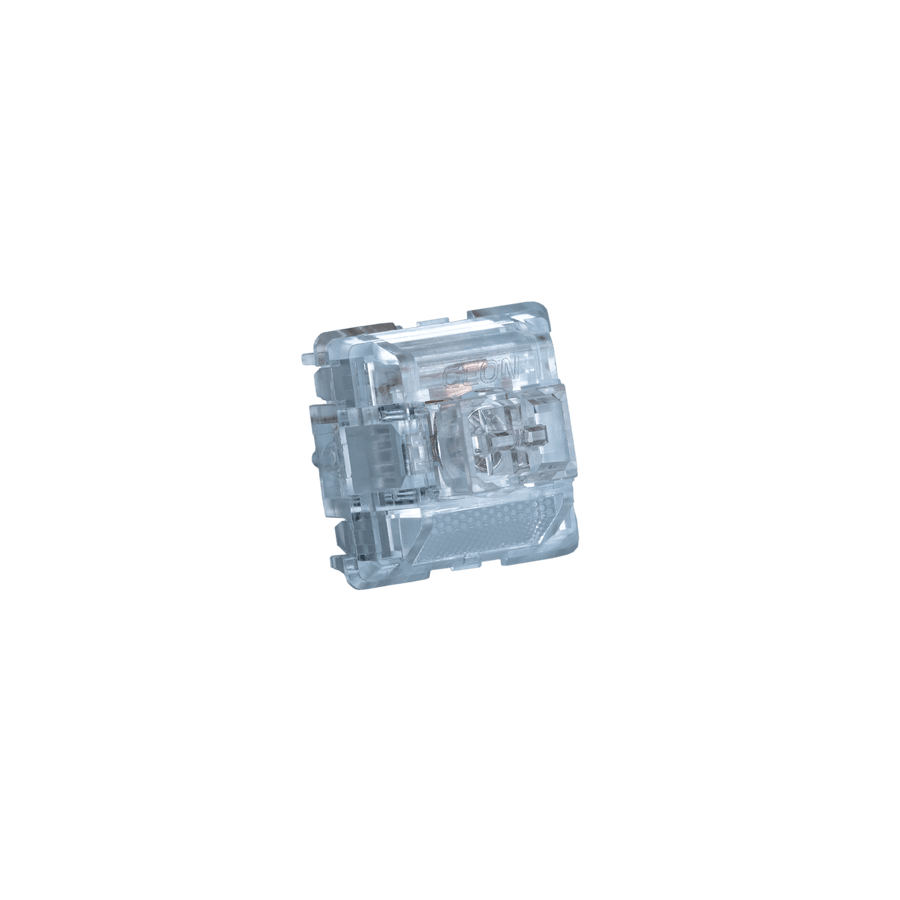
2. Open the Switch
Place the switch into a switch opener or gently pry it open with small tools. You’ll see four main parts:
- Top Housing
- Stem
- Spring
- Bottom Housing
Looking for different switch types while you’re at it? Head to our Keyboard Switches Collection to try something new.
3. Lubricate the Spring
Lightly coat the spring with lube, focusing on both ends. Some people prefer “bag lubing”: Put a small amount of lubricant in a resealable plastic bag, add the springs, and shake to distribute it evenly.
4. Lubricate the Stem
Using a fine brush, apply a thin layer of lubricant to the sides of the stem rails and the contact points that slide against the housing. Avoid over-lubing—less is more to maintain the intended switch feel.
5. Lubricate the Housing
On the bottom housing, lightly lube the rails where the stem moves. Try not to get lubricant on the metal leaf if you want to preserve your switch’s tactile feedback or click.
6. Reassemble the Switch
Once everything is lubed, place the spring back on the bottom housing, position the stem (correct orientation!), and snap the top housing in place.
If you’re experimenting with new switches, feel free to browse our Switches Section for even more variety—linear, tactile, or clicky options.
7. Test and Enjoy
Put your switches back into the keyboard, reattach the keycaps, and test how it feels and sounds. You should notice a smoother keypress and reduced noise. If you need to fine-tune, just repeat the process on any switch that needs a little extra care.
Common Mistakes to Avoid
- Over-Lubing: Too much lube can make keys feel sluggish or compromise tactile/clicky feedback.
- Lubing the Metal Leaf (by accident): This can kill the tactility in tactile/clicky switches or alter the intended sound profile.
- Skipping Stabilizers: While you have the board open, consider lubing or upgrading stabilizers as well. Check out our Stabilizer Kits in the Accessories section.
Final Thoughts
Lubricating mechanical keyboard switches is a fun and rewarding DIY project that can significantly enhance your typing and gaming. Whether you’re a casual user or a hardcore enthusiast, the difference in feel and sound can be night and day.
If you need high-quality lubricants, tools, or new switches to try out, make sure to explore:
- Accessories – for lube, brush sets, and more
- Keyboard Switches – for new linear, tactile, or clicky options
- Mechanical Keyboards – to upgrade your entire setup
A little patience and attention to detail go a long way in creating a smooth, quiet, and highly satisfying typing experience. Happy modding!